
Installation guides
Windows - Installation
If you have a previous installation of the StreamVPN client please ensure that it has been fully uninstalled before attempting to install this current version.
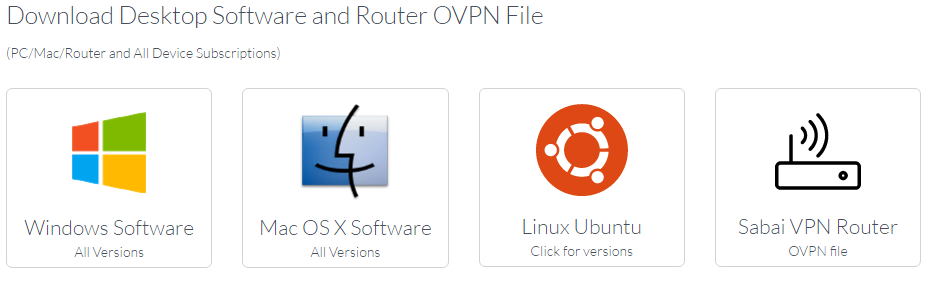
You will need to log in to your StreamVPN account and go to the “Install” tab. From here choose the ‘Windows’ download type option.
The StreamVPN Installer has been designed to be compatible with versions of Windows 7 onwards, and whilst the images you will see below are from Windows 10, the installation process is identical on all versions.
Once Logged in to your StreamVPN account, go to the “Install” tab. From here choose the ‘Windows’ download option.
If you are using Chrome or Firefox you will be given the option to save the file to your downloads folder only. From the Downloads folder you can double click on the installer and run it from there.
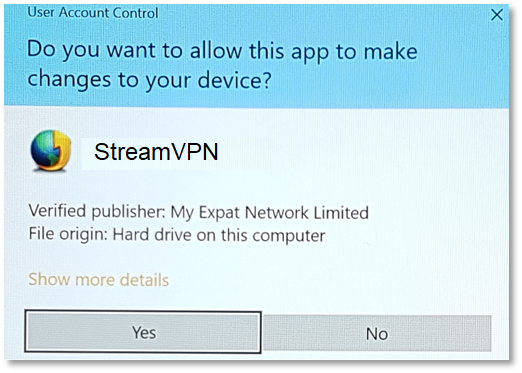
Windows User Account Control will kick in at this point to just check you want to install the software. Click Yes.

The installer software will start up and you will be given the opportunity to read the Acceptable Use Policy before installing the StreamVPN on to your Windows PC.
If you agree please tick the box to activate the Install button. Click on the Install button to begin installation.
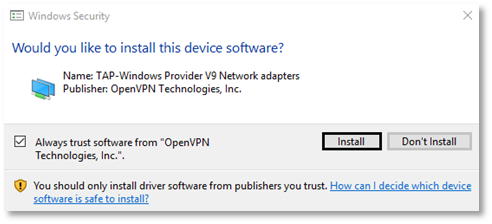
Please accept "install" TAP Windows Adapter.
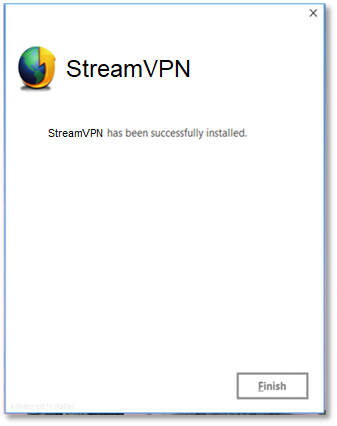
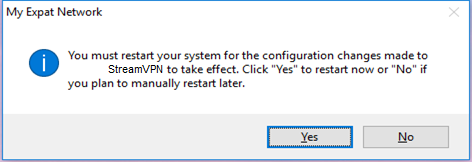
The installation process has completed and you can click the Restart button to reboot your PC.
![]()
On your desktop you should now have a nice new icon with which you can connect to the StreamVPN service.
Click here for the Windows User Guide